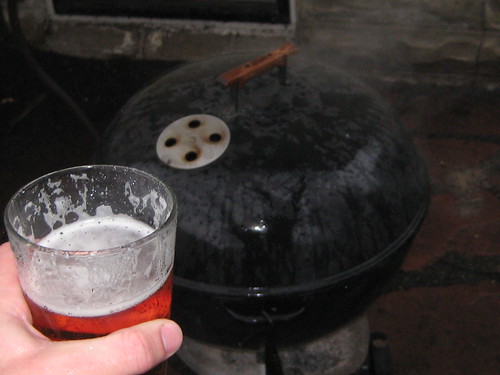
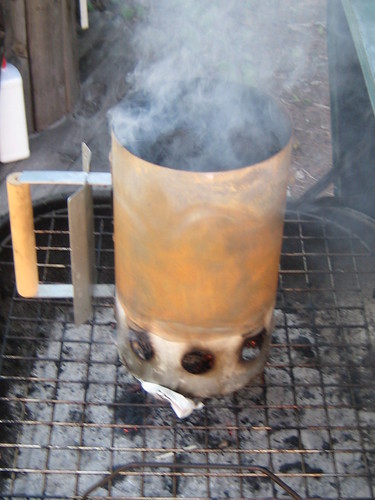
All of this blogging about other people's cheeseburgers left me feeling eager to grill some of my own. That, combined with a stretch of warm spring weather and the specific nature of my wife's pregnancy cravings, meant that the ceremonial first-burger-of-the-season would be grilled on Friday. Much to my dismay, what started as a fantasy week of balmy spring weather quickly turned cold, rainy, and straight-up medieval by Friday afternoon. I did not care. With a Summit Maibock in hand, I donned a raincoat and proceeded to load the chimney and brush the grate.
Americans love cheeseburgers. However, our sterile, Walmartian culture has completely fucked up this simple pleasure. In fact, you might say the standard American burger is FUBAR. We have ruined the hamburger patty. We have stripped the cheese of a soul. We have reduced the toppings to bland, watery, and/or chemical soaked afterthoughts. What remains is a previously sickly, previously frozen, previously in a CAFO sandwich-type-thing that is hardly fit for consumption by American pets. I mean that. I seriously mean that. And I'll stop my rant there. You read this blog because you already grind your own grass-fed beauties, right?
Time travel is possible. When you grind your own high quality, grass fed beef you will experience the delicacy enjoyed by many of our grandparents before the convenience age. When you choose to assemble a cheeseburger from the simplest, best ingredients that you can possibly find (within your local food economy), the utilitarian cheesburger is transformed into something truly sublime. Even the French have acknowledged the perfection of a grilled cheeseburger.
The only special equipment you need is a basic meat grinder - I use the Kitchen-Aid grinder attachment, but a manual countertop grinder also works well, and will earn you respect from your bad-ass grandfather.
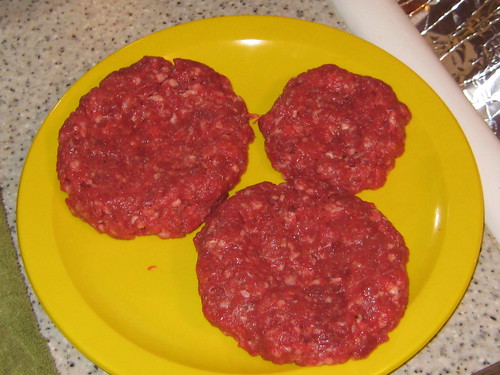
Does your gray, industrial, frozen patty look like this? I think not. So buy some respectable beef and grind your own damn burgers. It will expand your mind.

Ingredients for a burger that transcends time, space, and industrial food culture:
- 2 lbs chuck roast, from grass fed cows raised by a small local producer (I really like Thousand Hills)
- 1 tbsp Worcestershire sauce
- 1 tbsp olive oil
- freshly ground black pepper, to taste
- kosher or sea salt, to taste
Technique:- Put your grinder components and two large mixing bowls in the freezer
- Trim the beef to remove any tough connective tissue or large pieces of fat (but don't be too surgical or you'll risk grinding meat that's too lean - grass fed beef has very little fat to begin with)
- Cut trimmed beef into one inch chunks
- In one of the mixing bowls, combine meat with black pepper and salt
- Grind meat mixture through the small die into the other chilled bowl
- Pour Worcestshire sauce and olive oil into bowl, mix with a wooden spoon until liquids are incorporated (do not over-mix)
- Chill the meat in your refrigerator for 15 minutes to keep the meat cold (this is critical) - this is a good time to light the grill
- Using your hands, form the meat into 4 equal patties. Each should be about 1 inch think. Press your fingertips into the center of each patty to make them slightly concave (this helps them cook evenly and hold their shape)
- Grill over very hot coals until an instant-read thermometer registers 125 degrees (for medium rare). Too squeamish for medium rare? You're missing out. Buying good beef and grinding it yourself means you can eat a correctly grilled burger without fear.
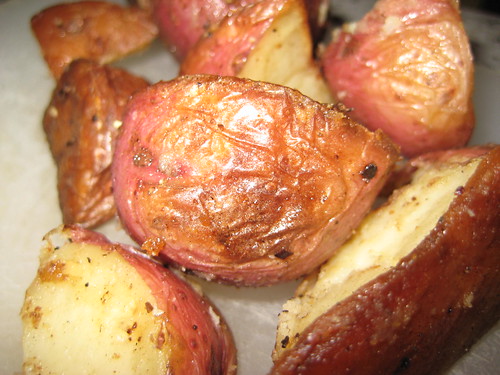
*makes 4 celebration-sized grilled hamburger pattiesP.S. Spring and Fall are fleeting portions of the grilling season because the mild outdoor temperatures permit the home chef to prepare some elements of the meal on the grill and some in the kitchen. This is especially important for homemade cheeseburgers and french fries. I do not own a deep fryer (sadly), but my wife and I have learned how to make addictive oven fries using a recipe from
Cooks Illustrated. I'll feature our version of that recipe in an upcoming post.